How to Design a Backyard Disc Golf Practice Area (Beginner-Friendly Setup)
You don’t need a full course in your backyard to get better at disc golf. A simple practice area can improve your putting, approach shots, and consistency faster than you’d think—especially if you keep it safe, repeatable, and easy to use.
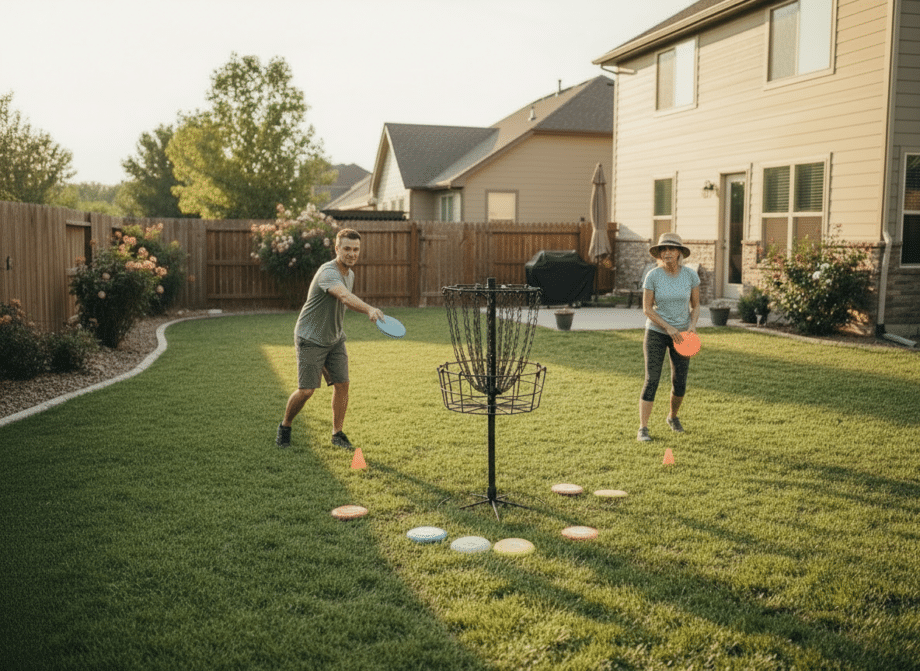
This guide walks you through how to design a backyard disc golf practice area that works for beginners, casual players, and families—whether you have a small yard or a wide-open space.
Step 1: Choose Your Practice Goals (So You Don’t Overbuild)
Before you buy anything or start measuring distances, decide what you actually want to practice. Most players improve fastest by focusing on:
- Putting (the quickest way to lower scores)
- Short approach shots (50–200 feet)
- Simple accuracy (hitting a line, landing in a zone)
Beginner-friendly recommendation
If you’re new to the sport, build your practice area around putting and short approaches first. Full-power drives require more space and add more safety concerns.
Step 2: Pick the Safest Location (This Matters More Than Distance)
The #1 rule of a backyard practice area is safety. Discs can skip, slide, or catch a gust of wind and drift farther than expected.
What to look for
- A clear throwing lane with no windows, cars, or neighbors in the “miss zone”
- Room behind the target in case you miss long
- Flat or gently sloped ground (steep slopes create rollaways and awkward footing)
- Low-traffic area so kids, pets, and family members aren’t walking through your line
What to avoid
- Throwing toward glass (windows, patio doors)
- Throwing toward streets, sidewalks, or driveways
- Practicing near fragile landscaping (young trees, garden beds)
Step 3: Decide on Your “Target” Setup
Most backyard practice areas use one of these setups:
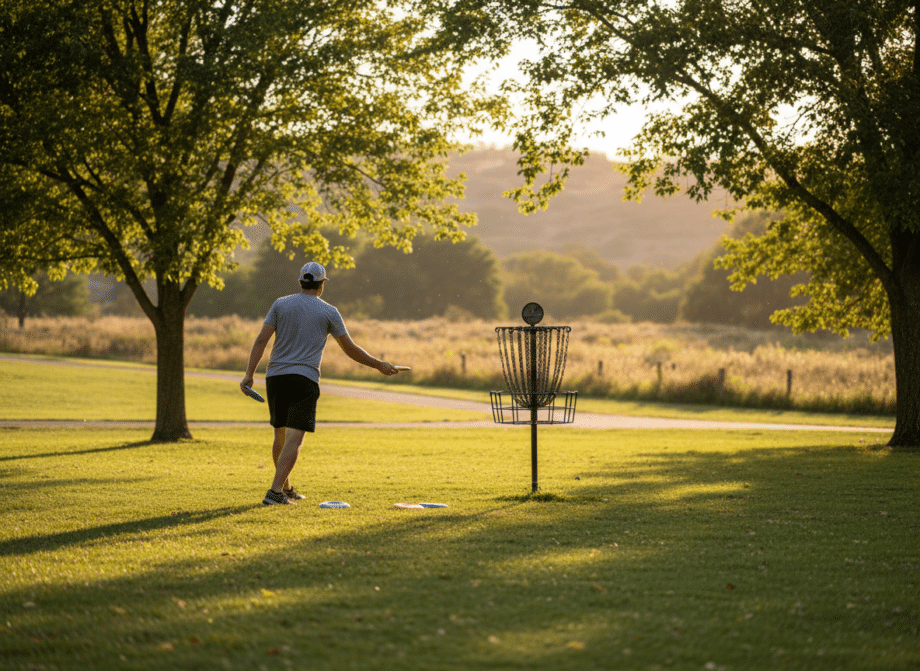
Option A: A Disc Golf Basket (Best All-Around)
A basket is the most realistic way to practice putting and approaches. If you already have one, great—build your layout around it.
If you’re shopping for one, start here:
Option B: A Temporary Target (Budget-Friendly)
If you’re not ready for a basket yet, you can still practice accuracy and touch with a temporary target:
- A marked pole or tree (only if it’s safe and you won’t damage anything)
- A hanging towel target (great for soft “landing zone” practice)
- A hula hoop or chalk circle on the ground (for approach landing drills)
Step 4: Map Out Distances (Simple Backyard Layout)
You don’t need exact measurements, but it helps to create a few repeatable stations. Here’s a simple layout that works for most yards:
Putting Stations
- 10 feet: confidence builder and warm-up
- 15 feet: realistic “must-make” range for beginners
- 20 feet: skill-building range
- 25–30 feet: challenge range (don’t worry if this is tough at first)
Approach Stations (If You Have Space)
- 50–80 feet: short touch shots
- 100–150 feet: controlled approaches
- 150–200 feet: “real hole” approach distance
Easy way to mark stations
- Small yard flags
- Landscape stakes (safe, visible)
- Chalk marks on a patio (if appropriate)
- Mini markers (also useful on the course)
Step 5: Add a “Miss Zone” and Backstop (Optional, But Super Helpful)
If you’re practicing often, a backstop saves time and protects your yard (and anything behind the target).
Simple backstop ideas
- Netting (sports net or practice net)
- Fence line (only if it’s safe and you won’t damage it)
- Soft landing area (mulch bed or grass zone behind the basket)
Beginner tip
Backstops are especially useful for families and newer players, because misses are part of learning—and you want practice to feel easy and fun, not frustrating.
Step 6: Build a Simple Practice Routine (So You Actually Use It)
A backyard practice area works best when it’s easy to step outside and do 10–15 minutes. Here are a few beginner-friendly routines.
Routine 1: 10-Minute Putting Ladder
- Make 5 putts from 10 feet
- Make 5 putts from 15 feet
- Make 5 putts from 20 feet
- If you miss 2 in a row, step in one station and rebuild confidence
Routine 2: Around-the-World (Fun for Families)
- Pick 6–8 spots around the basket
- Put one disc from each spot
- Track your score (1 point per make)
- Try to beat your best score next time
Routine 3: Approach “Landing Zone” Drill
- Place a hula hoop or mark a circle near the basket
- Throw 10 approach shots trying to land inside the zone
- Focus on smooth throws and clean release (not power)
Step 7: Choose Beginner-Friendly Discs for Backyard Practice
Backyard practice is the perfect time to learn discs that fly straight and feel comfortable in your hand. For most beginners, a simple setup is plenty:
- Putter: for putting and short approaches
- Midrange: for controlled straight shots
- Fairway driver: for gentle distance (only if you have space)
If you want to browse beginner-friendly discs and build a simple practice set, start here:
Backyard Practice Area FAQs
How much space do I need?
For putting practice, you can get great results in a small yard. For approach practice, more space helps, but you can still improve with 50–100 feet and a landing zone target.
Should I practice drives in my backyard?
Only if you have a very safe, open space with a clear miss zone. For most players, backyard practice is best for putting and approaches.
How do I keep practice fun?
Make it easy. Keep a few discs by the door, practice for 10 minutes, and use simple games (like Around-the-World). Consistency beats marathon sessions.
Final Thoughts: Keep It Simple and Use It Often
The best backyard practice area is the one you’ll actually use. Start with a safe spot, a few marked distances, and a simple routine. Over time, you can add stations, backstops, and new challenges—but even a basic setup can make your next round more fun and more confident.